How to Prepare an Area to Plant a Food Forest
Thinking about creating your very own food forest? Planting fruit trees and shrubs sounds exciting, but there’s a crucial first step you can’t skip—preparing the planting area properly. You can’t just dig into your lawn, plant a tree, and hope for the best. If you don’t prep your area correctly, you’ll likely face issues like invasive grass, poor soil health, and unhealthy trees later on.
The good news? Prepping an area for a food forest doesn’t require fancy tools or expertise, just a few simple steps that will ensure a thriving, healthy forest bed. Here’s how to do it right.
Preparing Your Food Forest Bed in 4 Simple Steps
Below is the exact method I use to create planting areas for my food forests. Following these steps will keep the grass out, improve your soil health, and turn your space into a productive, low-maintenance oasis.
Step 1: Plan and Outline the Area
Start by visualizing the area you want to transform into your food forest. It’s essential to outline the space you intend to prepare for planting.
- Use a garden hose, string, or stakes to create the shape and size of your future planting area. This visual marker helps you stay organized as you work.
- Think about accessibility and spacing. Will there be enough room to move between your plants? Also, keep in mind that certain trees and shrubs will require more sunlight than others, so consider nearby structures or large trees that create shade when planing what is planted where.
Taking the time to mark your area ensures your food forest will have a thoughtful and practical layout.
Step 2: Create a Natural Edge to Stop Grass
Preventing invasive grass from creeping back into your food forest is a top priority—and creating a natural edge early can make a big difference.
- Take a shovel and dig a narrow trench around the outline of your planned area. This edging acts as a barrier, making it harder for grass to spread into the forest later on.
- If you prefer, you can skip this step, but it may save you time and effort dealing with pesky grass in the future. You can also choose to perform this step after Step 3 if it’s easier for your workflow.
Pro Tip: A natural edge not only prevents grass invasion but also helps define the boundaries of your planting bed, giving it a neat and professional look.
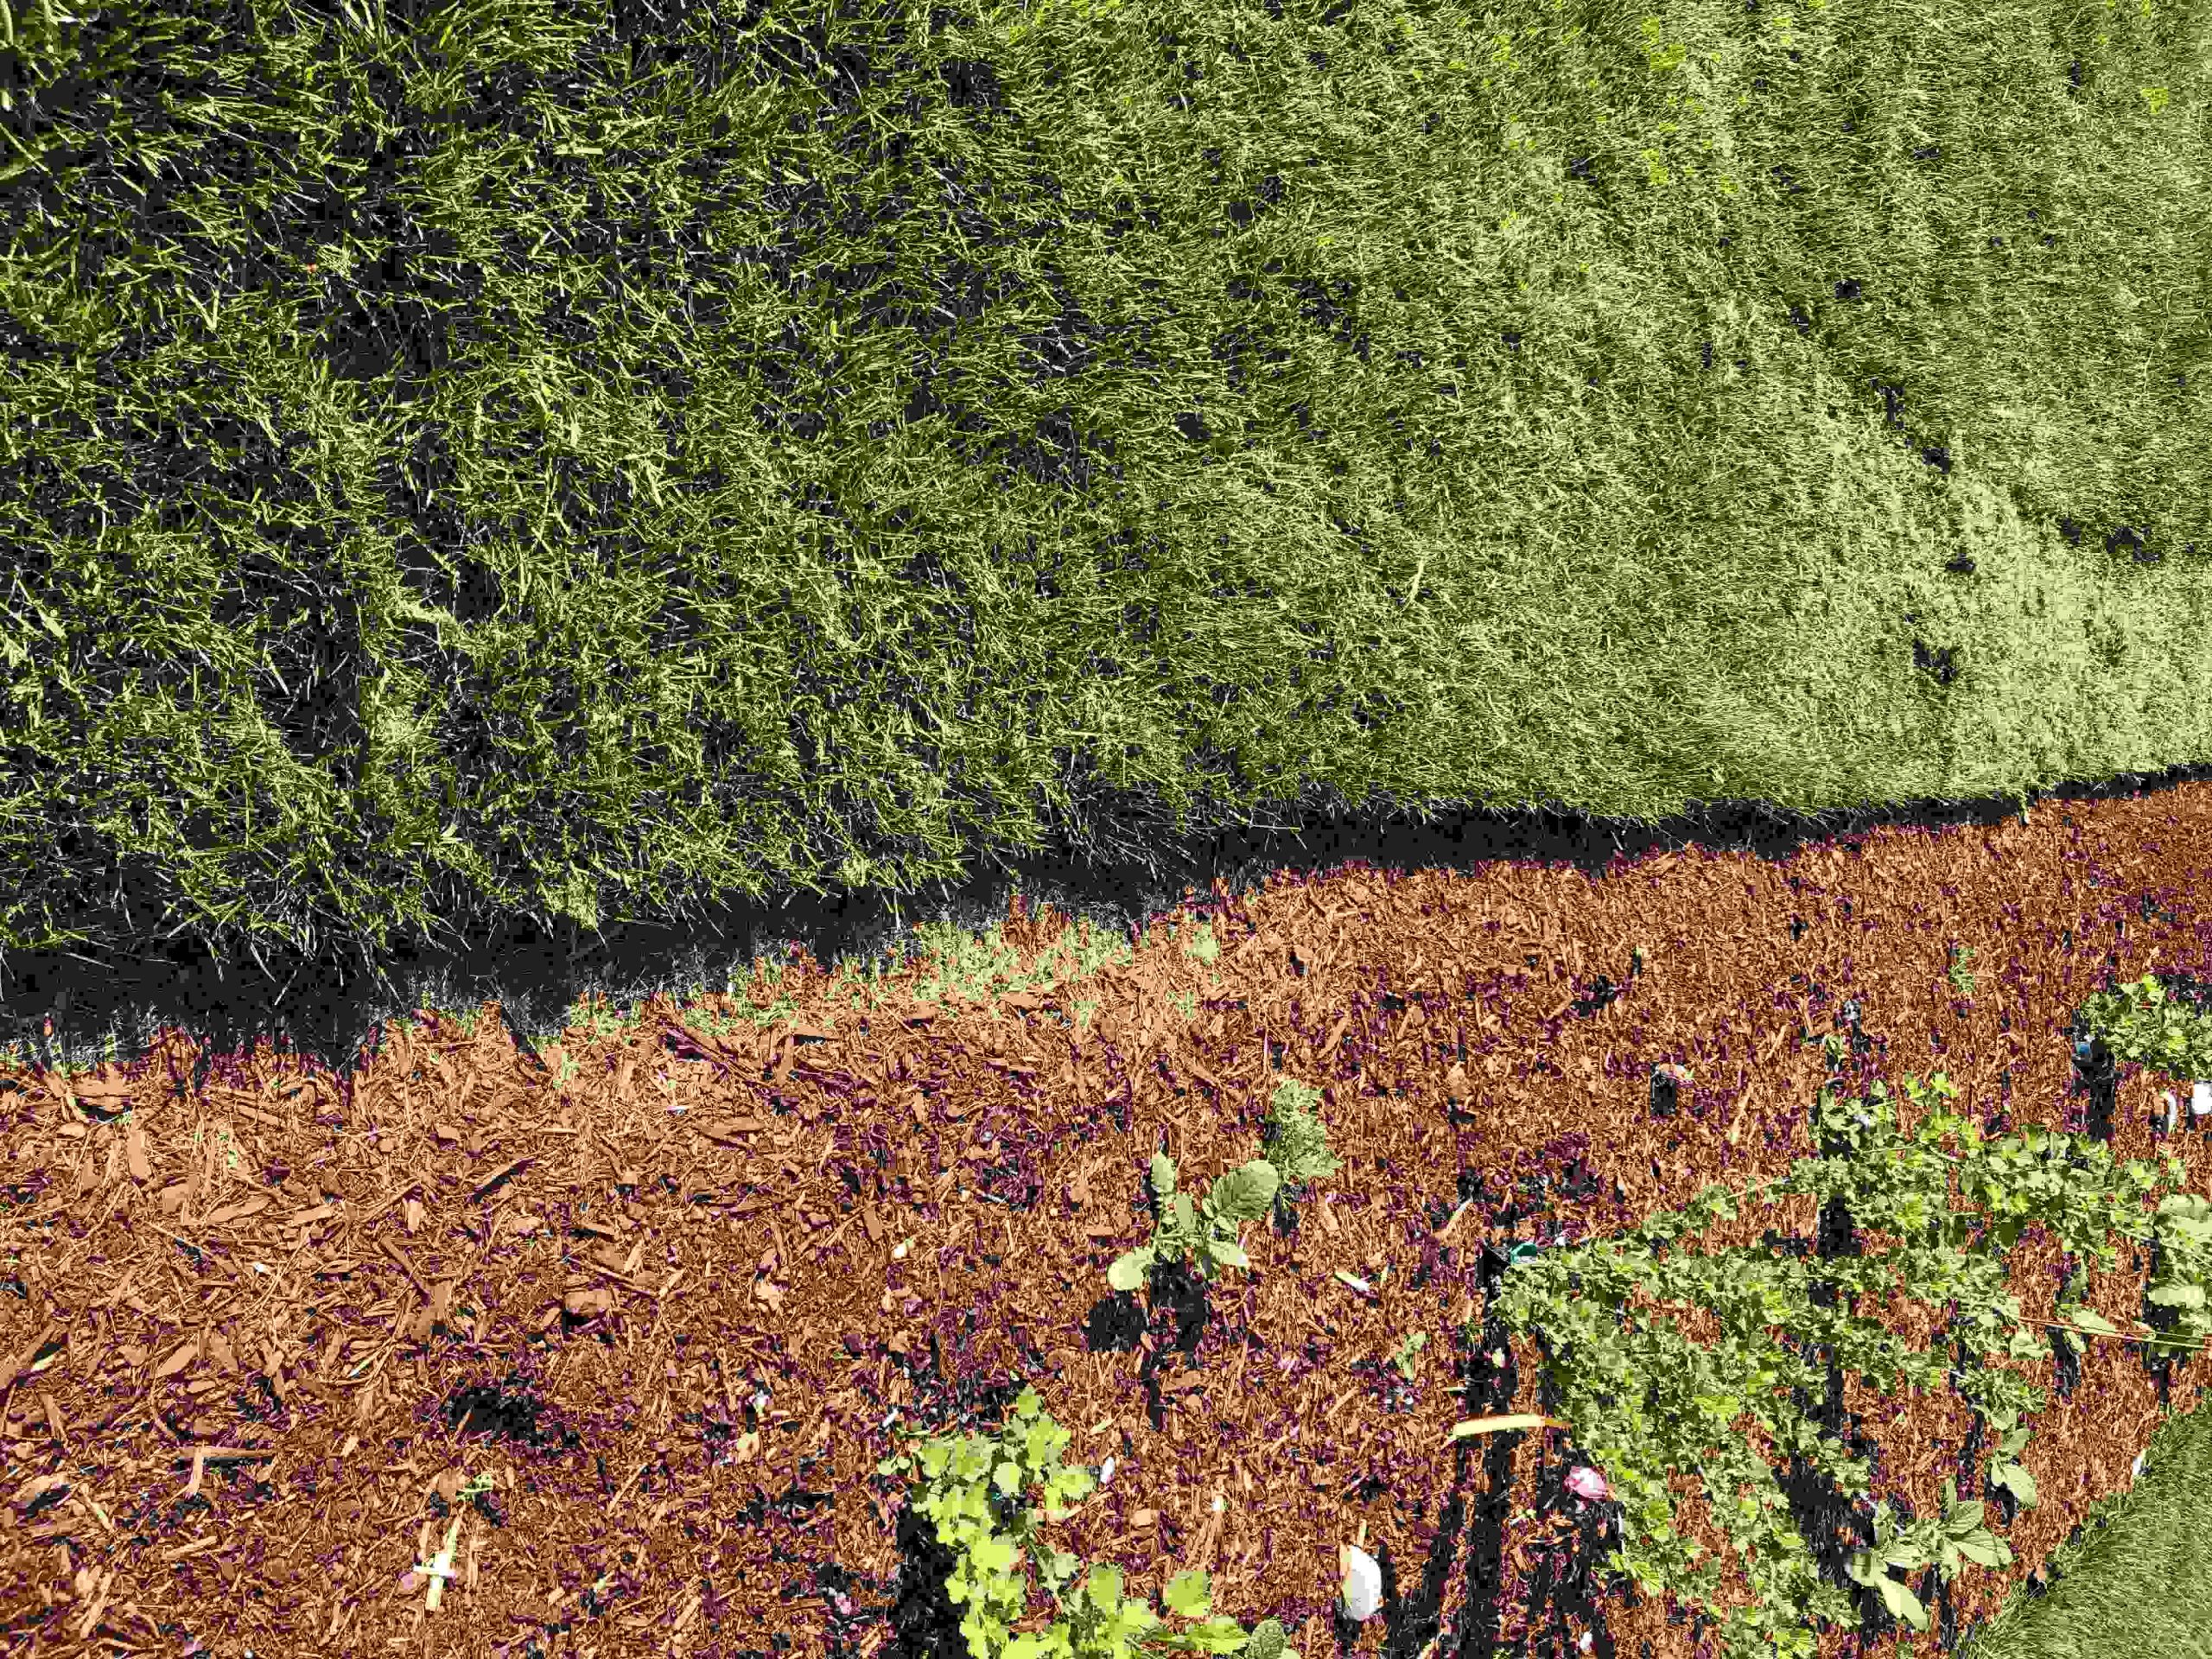
Step 3: Layer for Success – Compost, Carpenter Paper, and Wood Chips
This step is where the magic happens! The layering process builds nutrient-rich soil while suppressing the existing grass. Here’s how to do it:
- Cut the grass short with a lawnmower to create a flat base.
- Add a 3–4-inch layer of compost directly on top of the grass. This layer feeds the soil microbes and allows them to break down organic material, enriching your planting area over time.
- Place 3–4 layers of carpenter paper (or any heavy-duty paper) over the compost. Water it down thoroughly so the paper sticks and stays in place. Many people suggest placing the paper first, but I recommend compost first to jumpstart microbial activity. Both methods can work, but compost-first speeds up the process.
- Top everything off with a generous 3–4-inch layer of wood chips, spreading them evenly across the surface. Water it down thoroughly to help the layers settle.
Watering at every step is essential to kickstart the decomposition process and prevent the materials from blowing away or drying out.
Step 4: Wait and Watch Nature Work
Once you’ve set up your layers, it’s time to be patient. Over the next few months, the grass beneath the paper will decompose and die off, while the compost and wood chips work to enrich the soil.
- It typically takes around 2–3 months for the grass to fully break down and the area to be ready for planting. The timing can vary depending on your climate and chosen materials.
When you dig planting holes for your trees or shrubs later, you might notice some grass attempting to sprout around those areas. Don’t worry—just place a few layers of carpenter paper over the problem spots and top them with wood chips.
Why This Method Works
Prepping a food forest bed this way creates a strong foundation for long-term success. Here’s why:
- Suppresses Grass Growth: The layers of carpenter paper and wood chips provide a physical barrier to block sunlight, which stops grass from regrowing.
- Improves Soil Health: Compost enriches the soil with nutrients, while the wood chips break down over time, adding organic matter.
- Retains Moisture: Wood chips act as a natural mulch, keeping the soil moist and reducing the need for frequent watering.
- Encourages Microbial Activity: Compost-first layering creates an ideal environment for soil microbes to thrive, which helps plants grow healthier.
By following this step-by-step approach, you’ll eliminate unnecessary headaches like invasive grass or nutrient-deficient soil and set your food forest up for success.
A Few Helpful Notes
- While you can skip Step 2 (natural edging) altogether, adding it saves effort in the long run by keeping grass out.
- If you prefer, you can swap the order of Step 2 and Step 3. Just note that starting with the compost and paper layers first simplifies the process.
- This method works for planting more than just trees. You can prepare beds for shrubs, herbs, and even vegetables using the same process.
- Use this compost calculator to easily determine how much compost you’ll need.
- Purchasing compost and wood chips from a bulk soil supplier is significantly more cost-effective than opting for bagged soil from big-box stores.
The Result? A Thriving Food Forest!
After a few months of waiting, your planting area will be ready for action. The grass will have decomposed, your soil will be healthier, and your layering will keep weeds at bay. Simply dig your holes, plant your fruit trees or shrubs, and enjoy watching your food forest flourish.
Remember, it’s normal for a few stray grass blades to pop up in your planting holes. Just reapply layers of paper and wood chips to those areas for a quick fix.
Get Started on Your Food Forest
Creating a food forest isn’t just about planting fruits and veggies—it’s about building a thriving ecosystem in your backyard. By taking the time to prepare your planting area with these steps, you’re investing in long-term success.
Ready to grow your dream garden? Like our Facebook page to follow along and see everything we’re cultivating! Stay updated with step-by-step guidance, expert tips, and timely insights for all kinds of crops. Let’s grow together!
