How to Grow Onions in the Pacific Northwest
Onions are a kitchen staple, adding flavor to everything from stews to sandwiches. But did you know you can grow your own onions right in your backyard, even in the Pacific Northwest? With the right approach, onions can flourish in this region, producing a healthy, homegrown harvest that’ll save you money and enhance your meals.
This guide is your step-by-step resource for growing onions, covering everything from selecting the best types for the PNW to planting, watering, and storing your harvest. By the end of this guide, you’ll have all the tools you need to cultivate a successful onion crop.
Why Long-Day Onions Are Your Best Bet
The type of onion you grow matters, especially in the Pacific Northwest. The region’s long summer days make it ideal for long-day onions, which require 14-16 hours of daylight to develop properly. Planting the wrong type, such as short-day onions (better suited for southern climates), will lead to disappointing results.
If you’re a first-time onion gardener, stick to trusted long-day onion varieties like Walla Walla, Yellow Sweet Spanish, and Redwing.
Types of Onions and Their Uses
When deciding which onions to grow, consider their variety and culinary applications. Here’s a breakdown to help you choose the right one for your needs:
- Yellow Onions
The most versatile option, perfect for cooking, caramelizing, and roasting. Yellow onions are great for savory dishes and tend to have a longer shelf life.
- White Onions
Slightly milder than yellow onions, they’re ideal for fresh dishes like salads and salsas. Their crisp texture makes them perfect for frying.
- Red Onions
Sweet and visually striking, red onions add color and flavor to sandwiches and salads. Their milder taste also works well for grilling and pickling.
How to Start Growing Onions
There are three main ways to start growing onions—seeds, sets, or starts. Each option has its advantages and drawbacks, so choose the method that best fits your gardening style.
1. From Seed
Growing from seed gives you the most variety but requires time and precision. Seeds need to be started indoors, in January, in our location. While this method is cost-effective, it demands patience and careful attention to detail.
2. From Sets
Onion sets (small bulbs planted directly in the soil) are beginner-friendly and easy to manage. However, they often produce smaller onions and fewer long-day varieties are available as sets.
3. From Starts
I personally find small onion starts to be the most dependable option. Starts are young plants ready to go into your garden right away. They require less prep work than seeds and yield larger onions than sets.
Recommended Source: I prefer purchasing starts from Dixondale Farms, the nation’s largest onion grower. They offer high-quality clumps of onion starts at competitive prices, with discounts for bulk orders. Ordering opens in the fall and continues through the winter, ensuring you can plan ahead. In our region, the starts typically arrive by March—perfect timing for planting season.
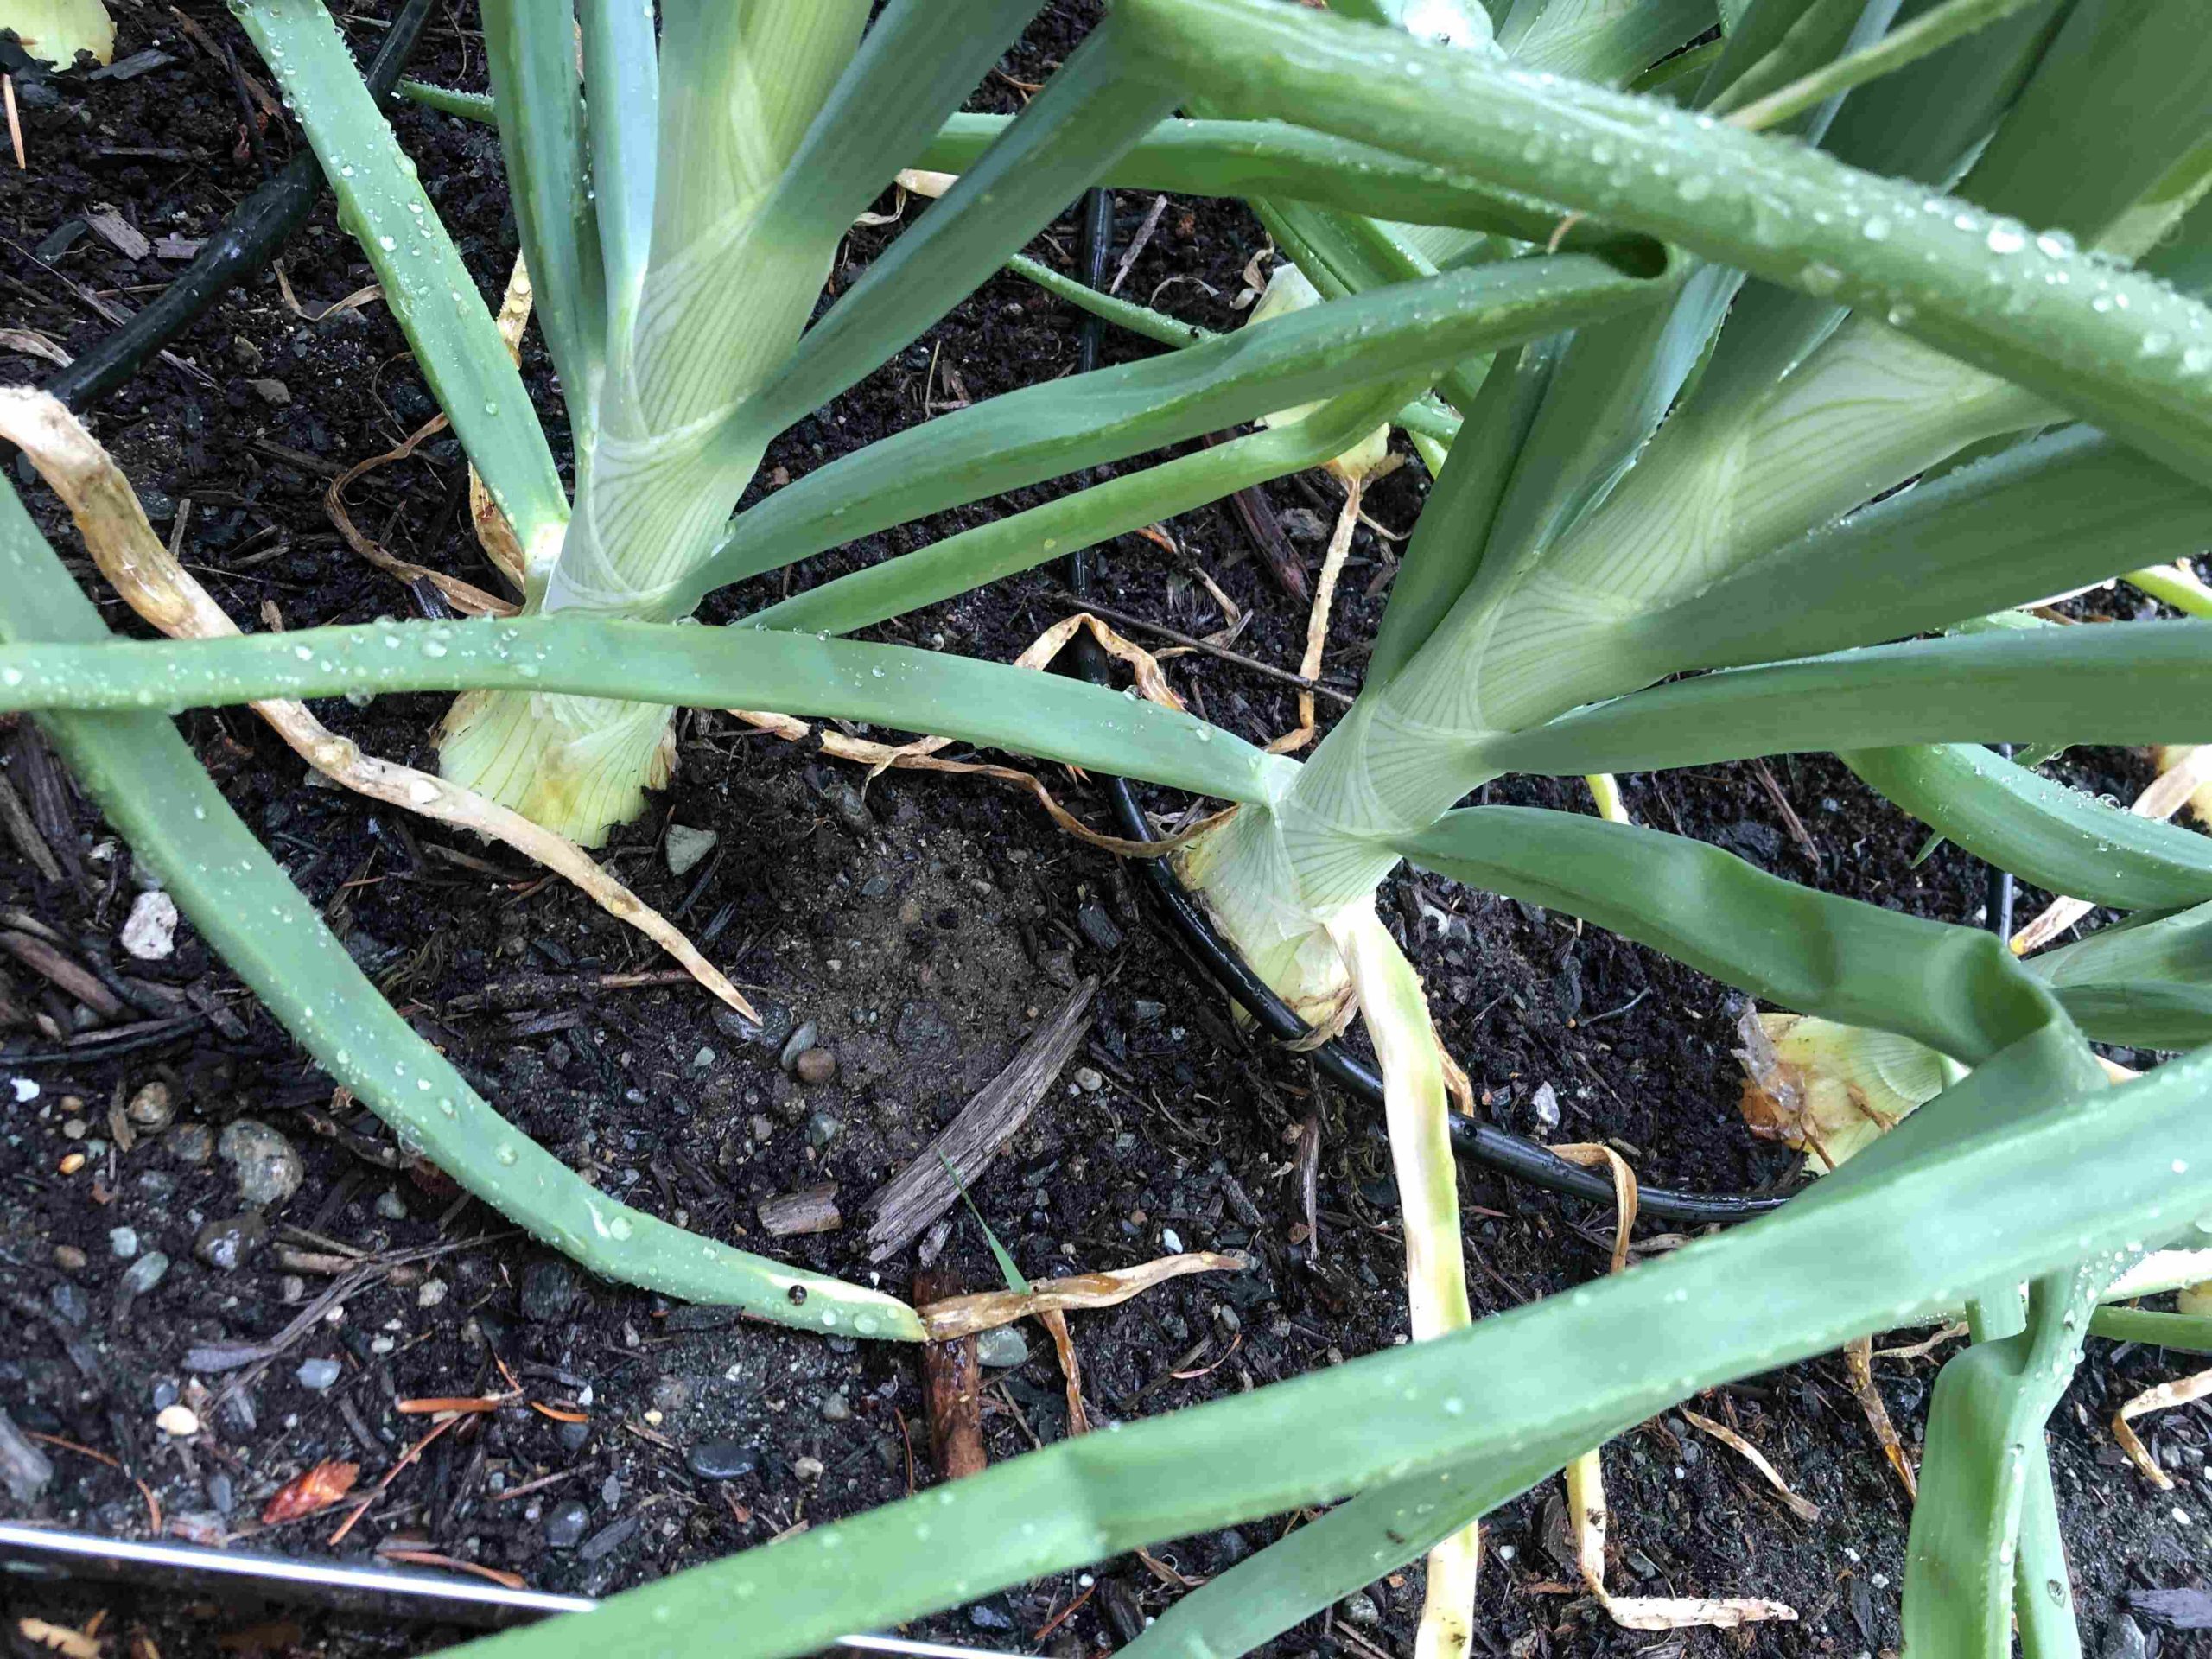
Setting Up Your Onion Bed
To grow onions successfully, proper spacing and soil setup are key.
- Raised Beds
For my primary crop, I use raised beds with 4-5 inches of space between each onion. This spacing ensures plenty of room for growth.
- Test Planting
Any extra onion starts are added to random spots throughout my food forest. Not only do onions deter pests, but this method helps me identify new areas in the yard that might support onions in the future.
- Shade and Mulch
Onions benefit from partial shade during the intense afternoon sun. Consider adding a thin layer of straw mulch to help retain soil moisture and regulate temperature.
Watering and Fertilizing
Onions thrive on consistent care. Here’s how to keep them nourished and hydrated:
- Watering
Onions need about 1 inch of water per week. Ensure the soil stays evenly moist but not waterlogged, especially during warm summer months.
- High Nitrogen Fertilizer
Apply a nitrogen-rich fertilizer every 2-3 weeks until about 30 days before harvest. This encourages healthy leaf growth, which is directly linked to larger bulb formation.
Stay on Top of Bolting
Keep a close eye on your onions for signs of bolting (forming a flower stalk). Bolting is a sign of stress and happens when onions are exposed to fluctuating conditions like temperature changes.
What to do if they bolt:
- Remove the flower stalk immediately to redirect the plant’s energy back into the bulb.
- Eat bolted onions quickly as they won’t store well.
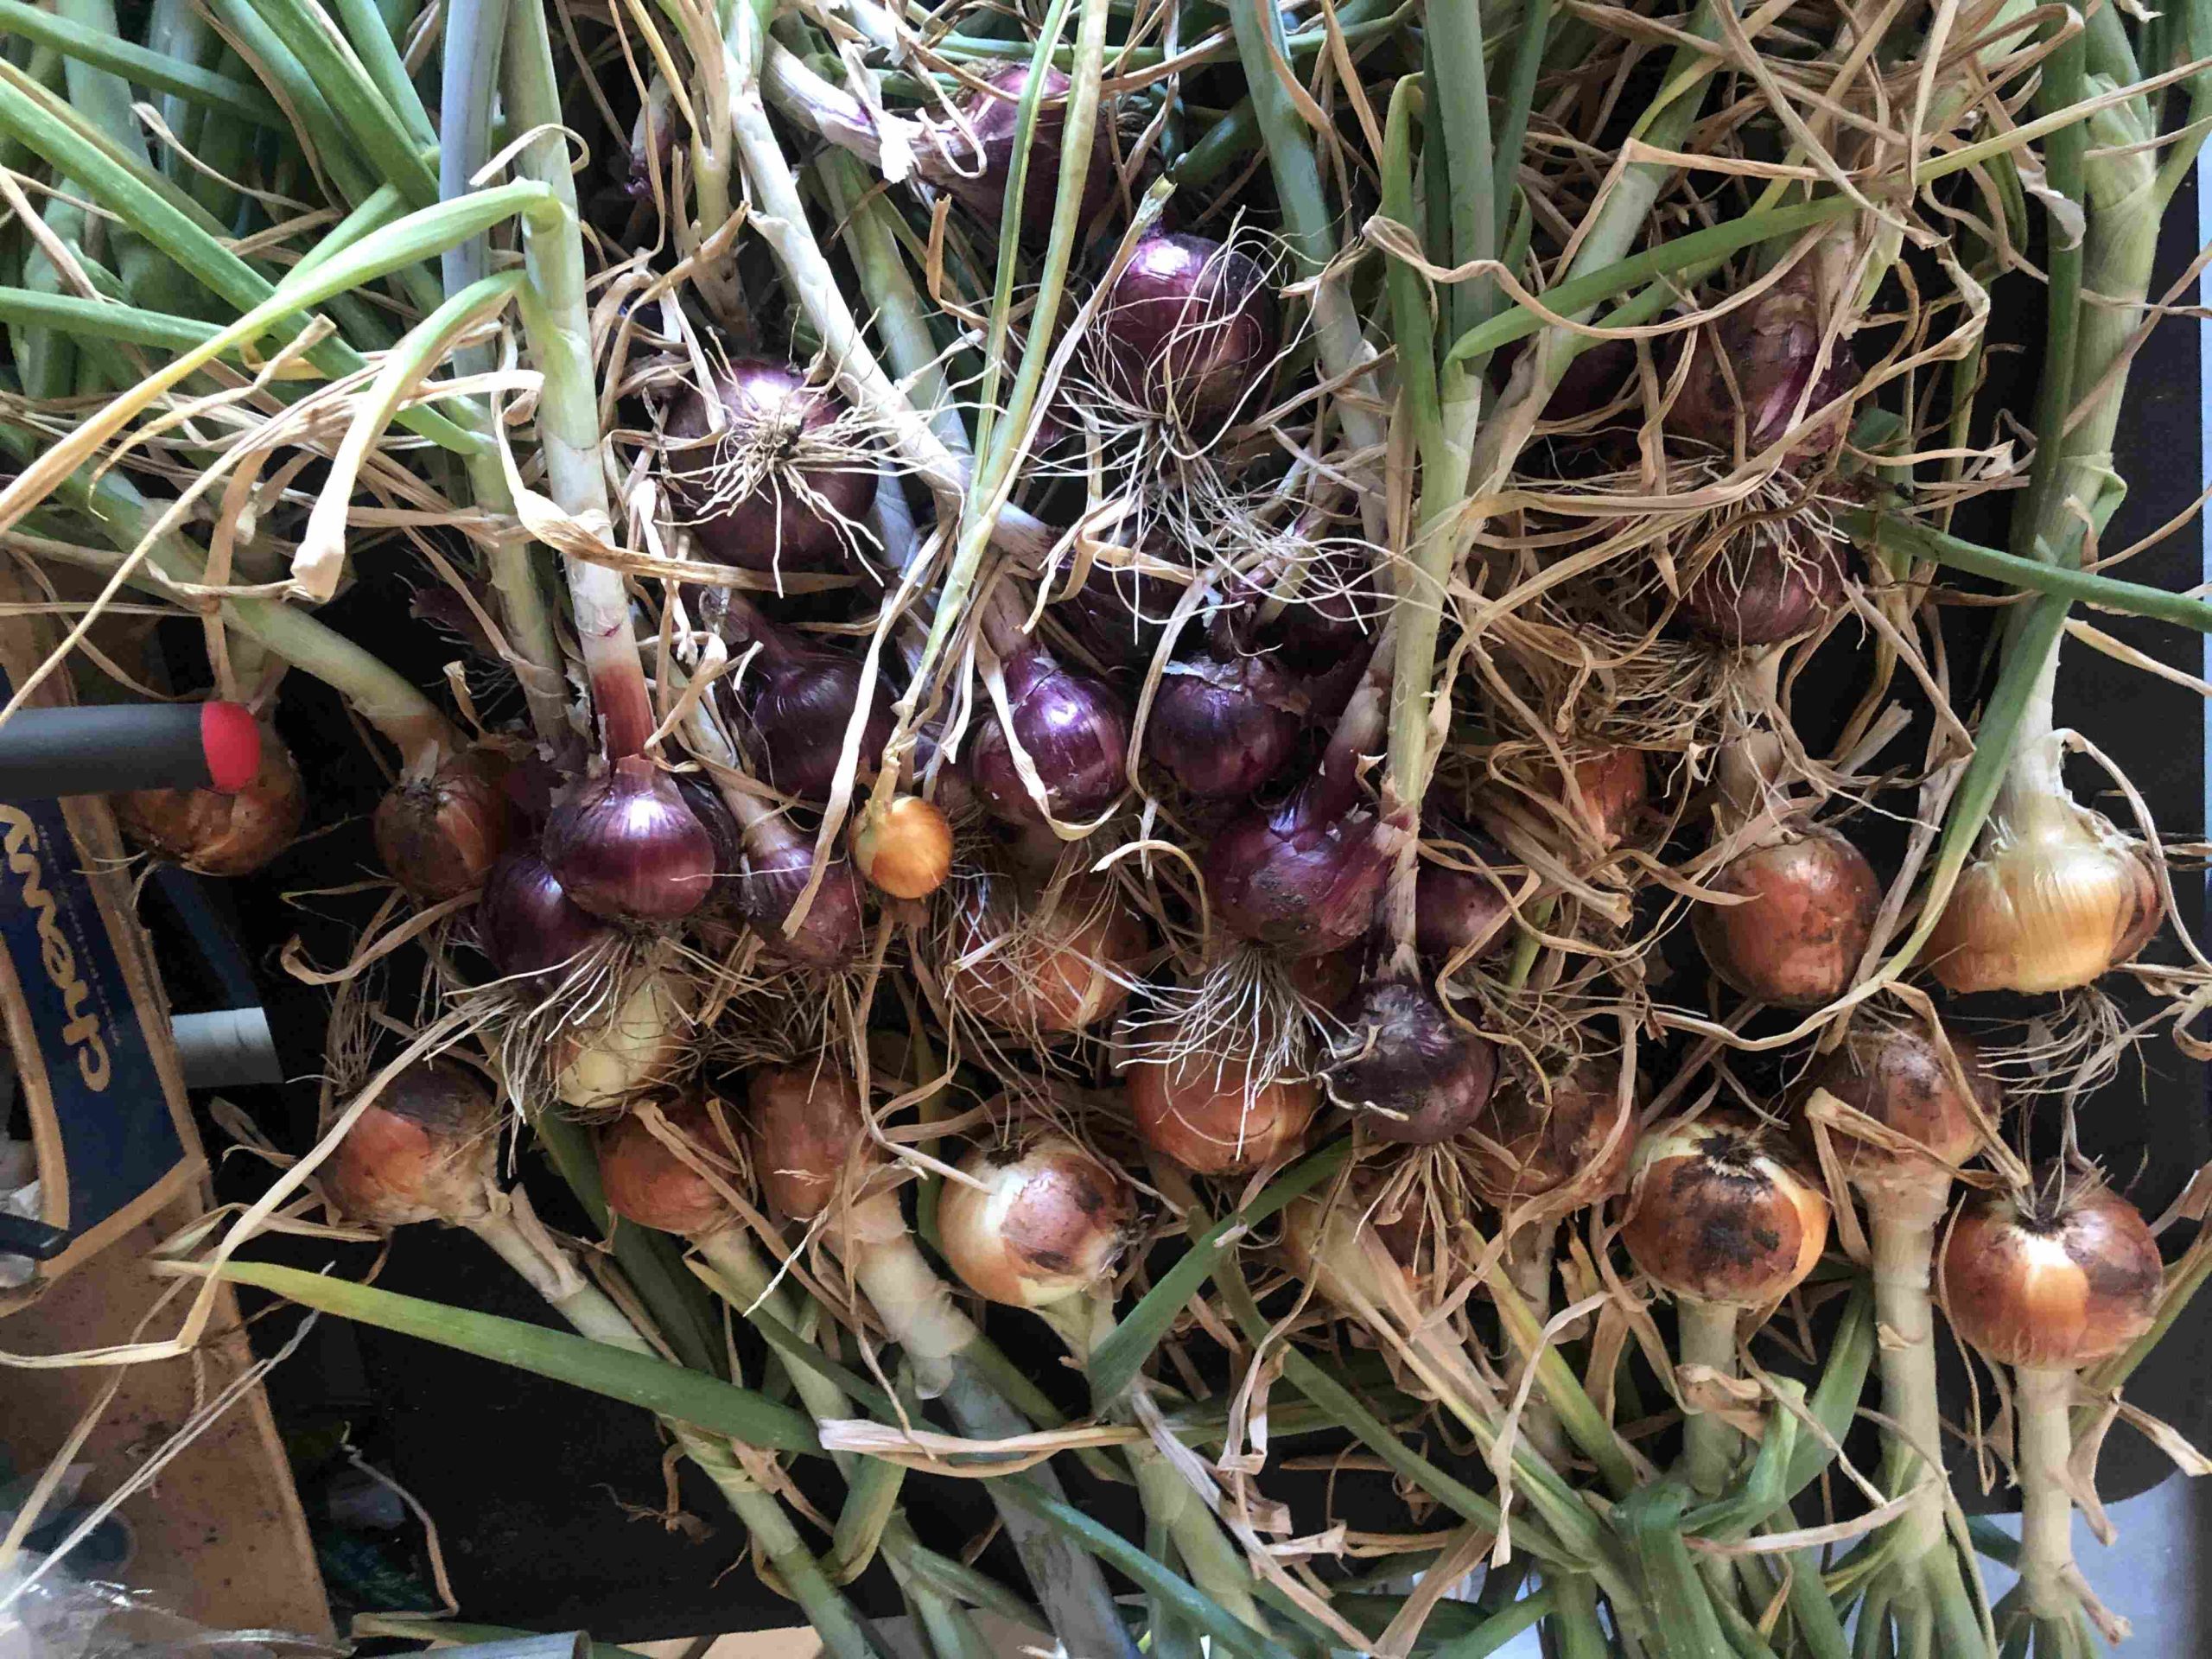
Harvesting and Curing Your Onions
Knowing when and how to harvest onions is crucial for a successful yield.
- Wait until the tops of the plants turn yellow and start to fall over, which indicates they’ve finished growing.
- Pull onions gently from the soil and brush off excess dirt.
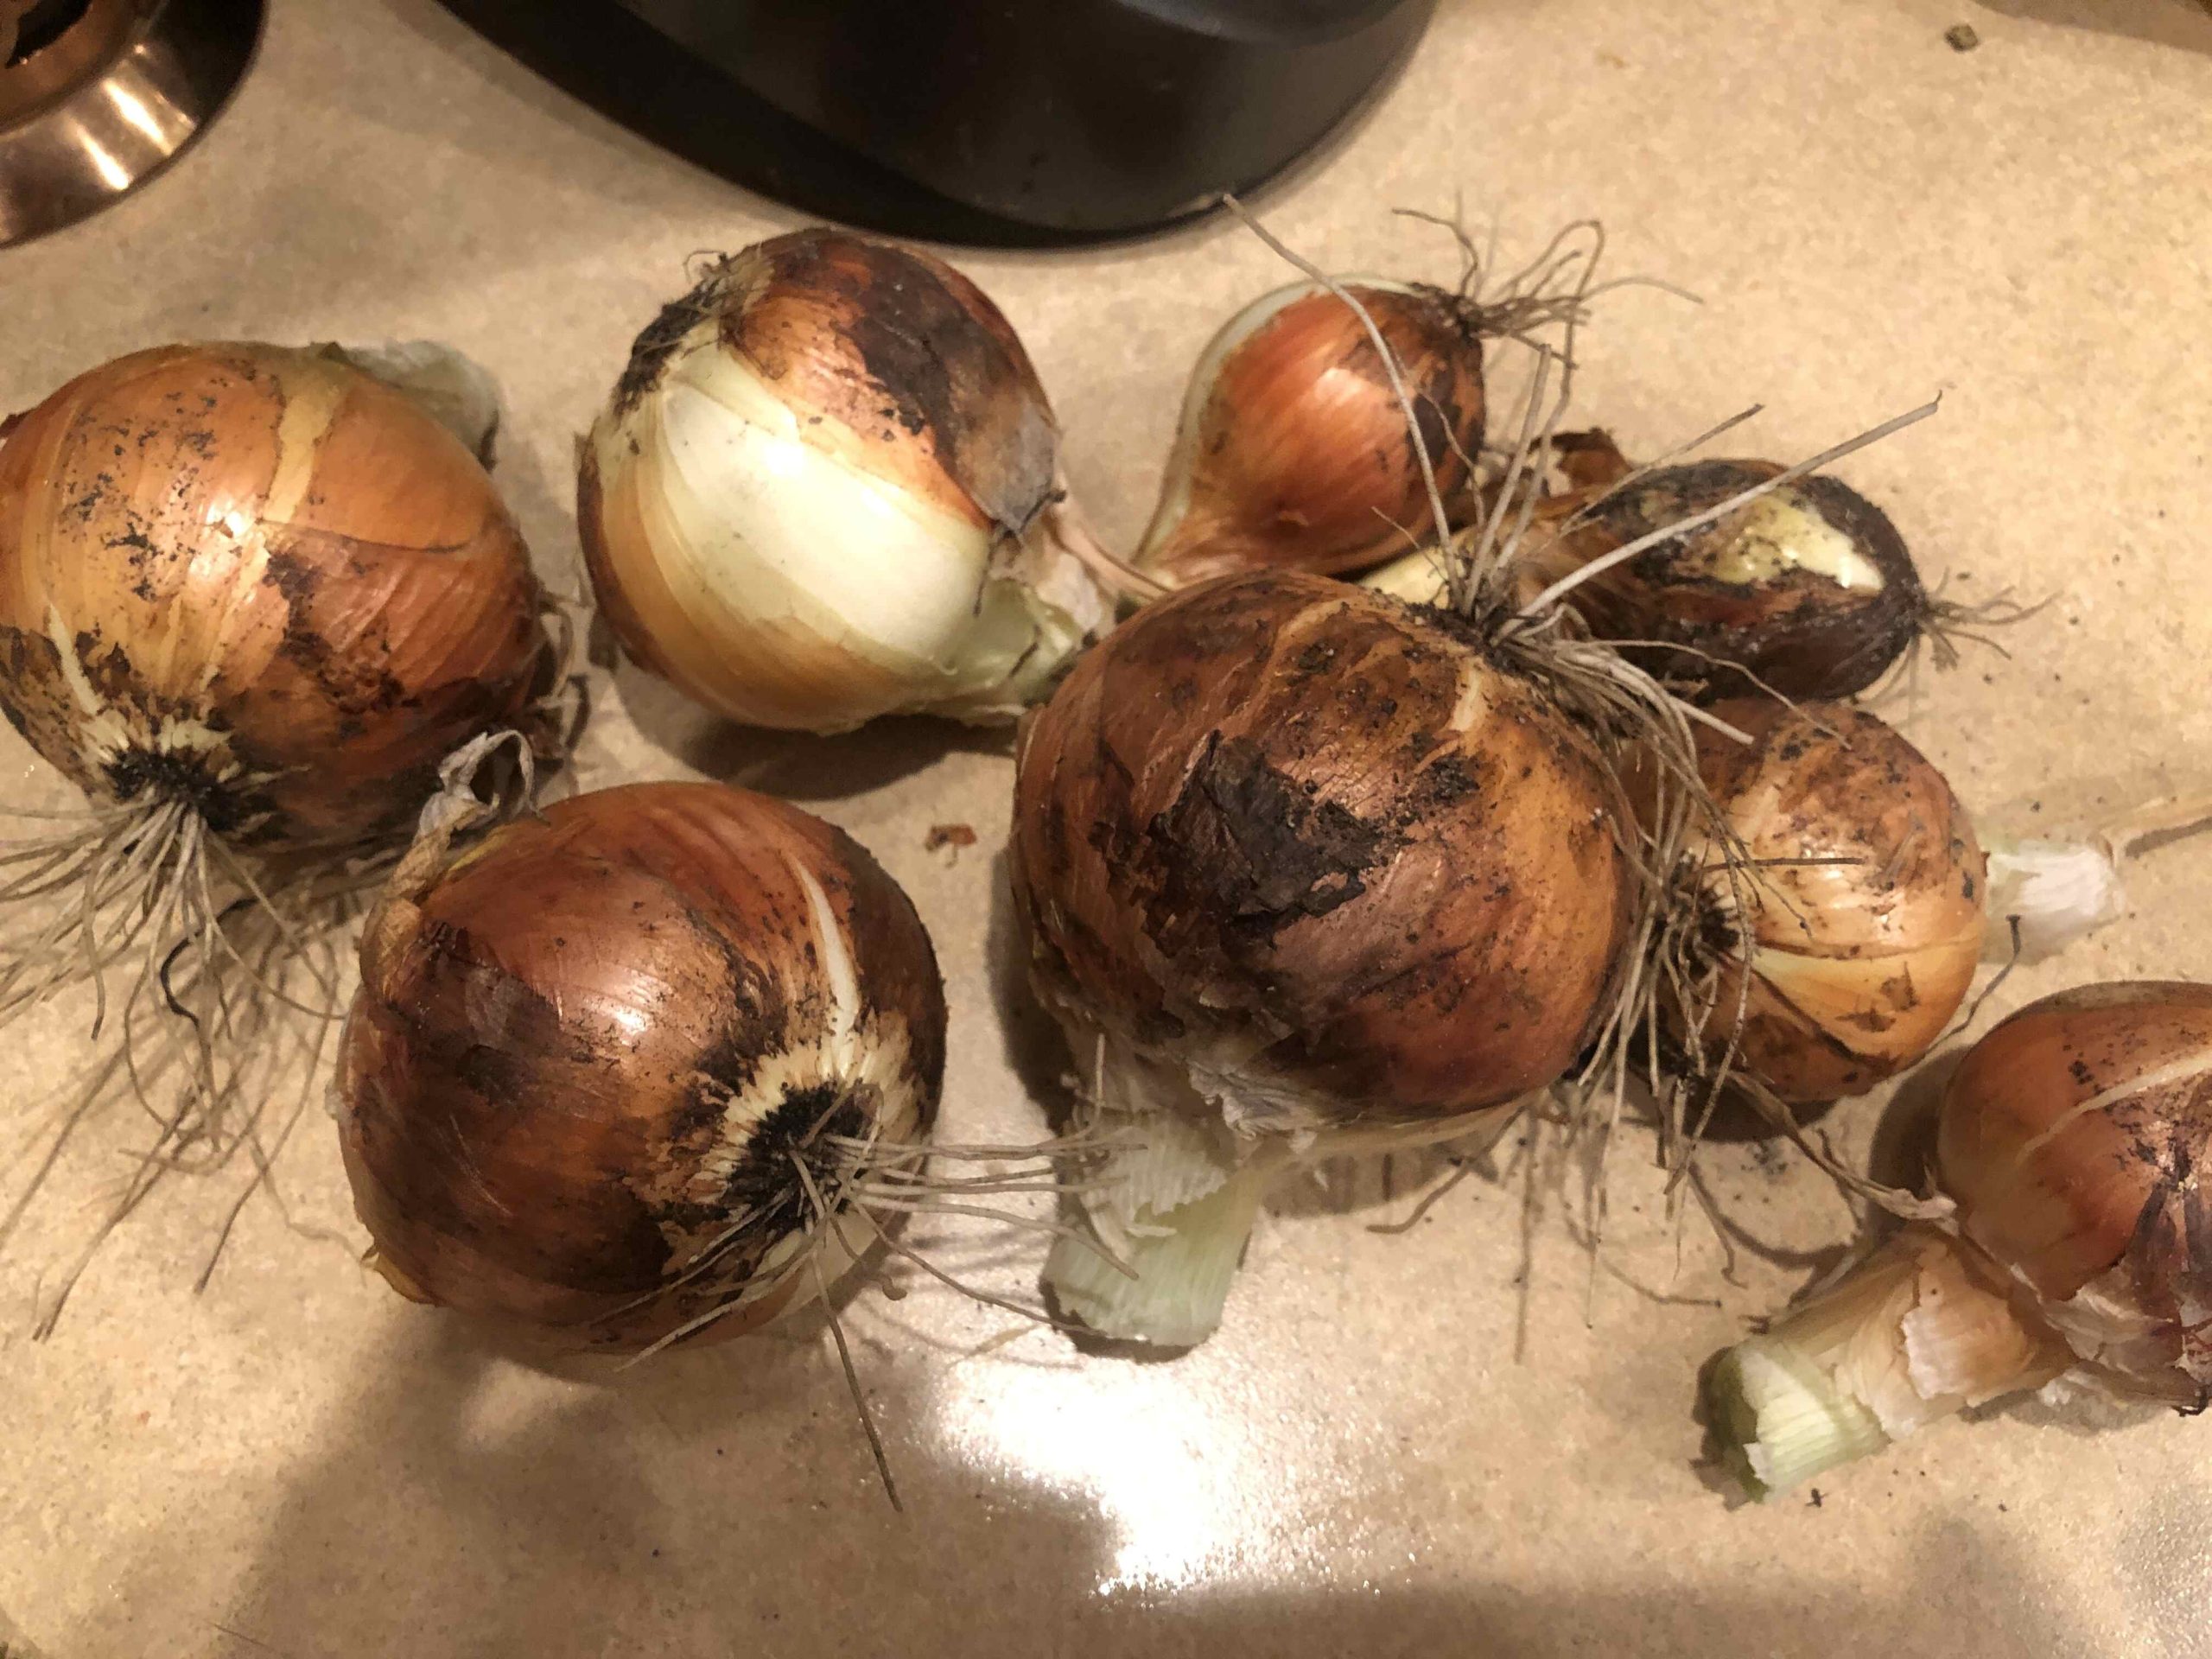
Curing is an essential step for storing onions. Lay the harvested onions in a warm, dry, well-ventilated area for 2-3 weeks. Once the outer skins have dried and the necks are tight, they’re ready to store.
Storing and Preserving Onions
Here’s how to ensure your harvest lasts as long as possible:
- Fermenting
Fermenting onions is an easy way to preserve them while boosting flavor and probiotics. Slice the onions, submerge them in a saltwater brine, and let them ferment at room temperature for 1–2 weeks, ensuring they stay below the brine. The result is a tangy, gut-healthy condiment that adds zest to any meal.
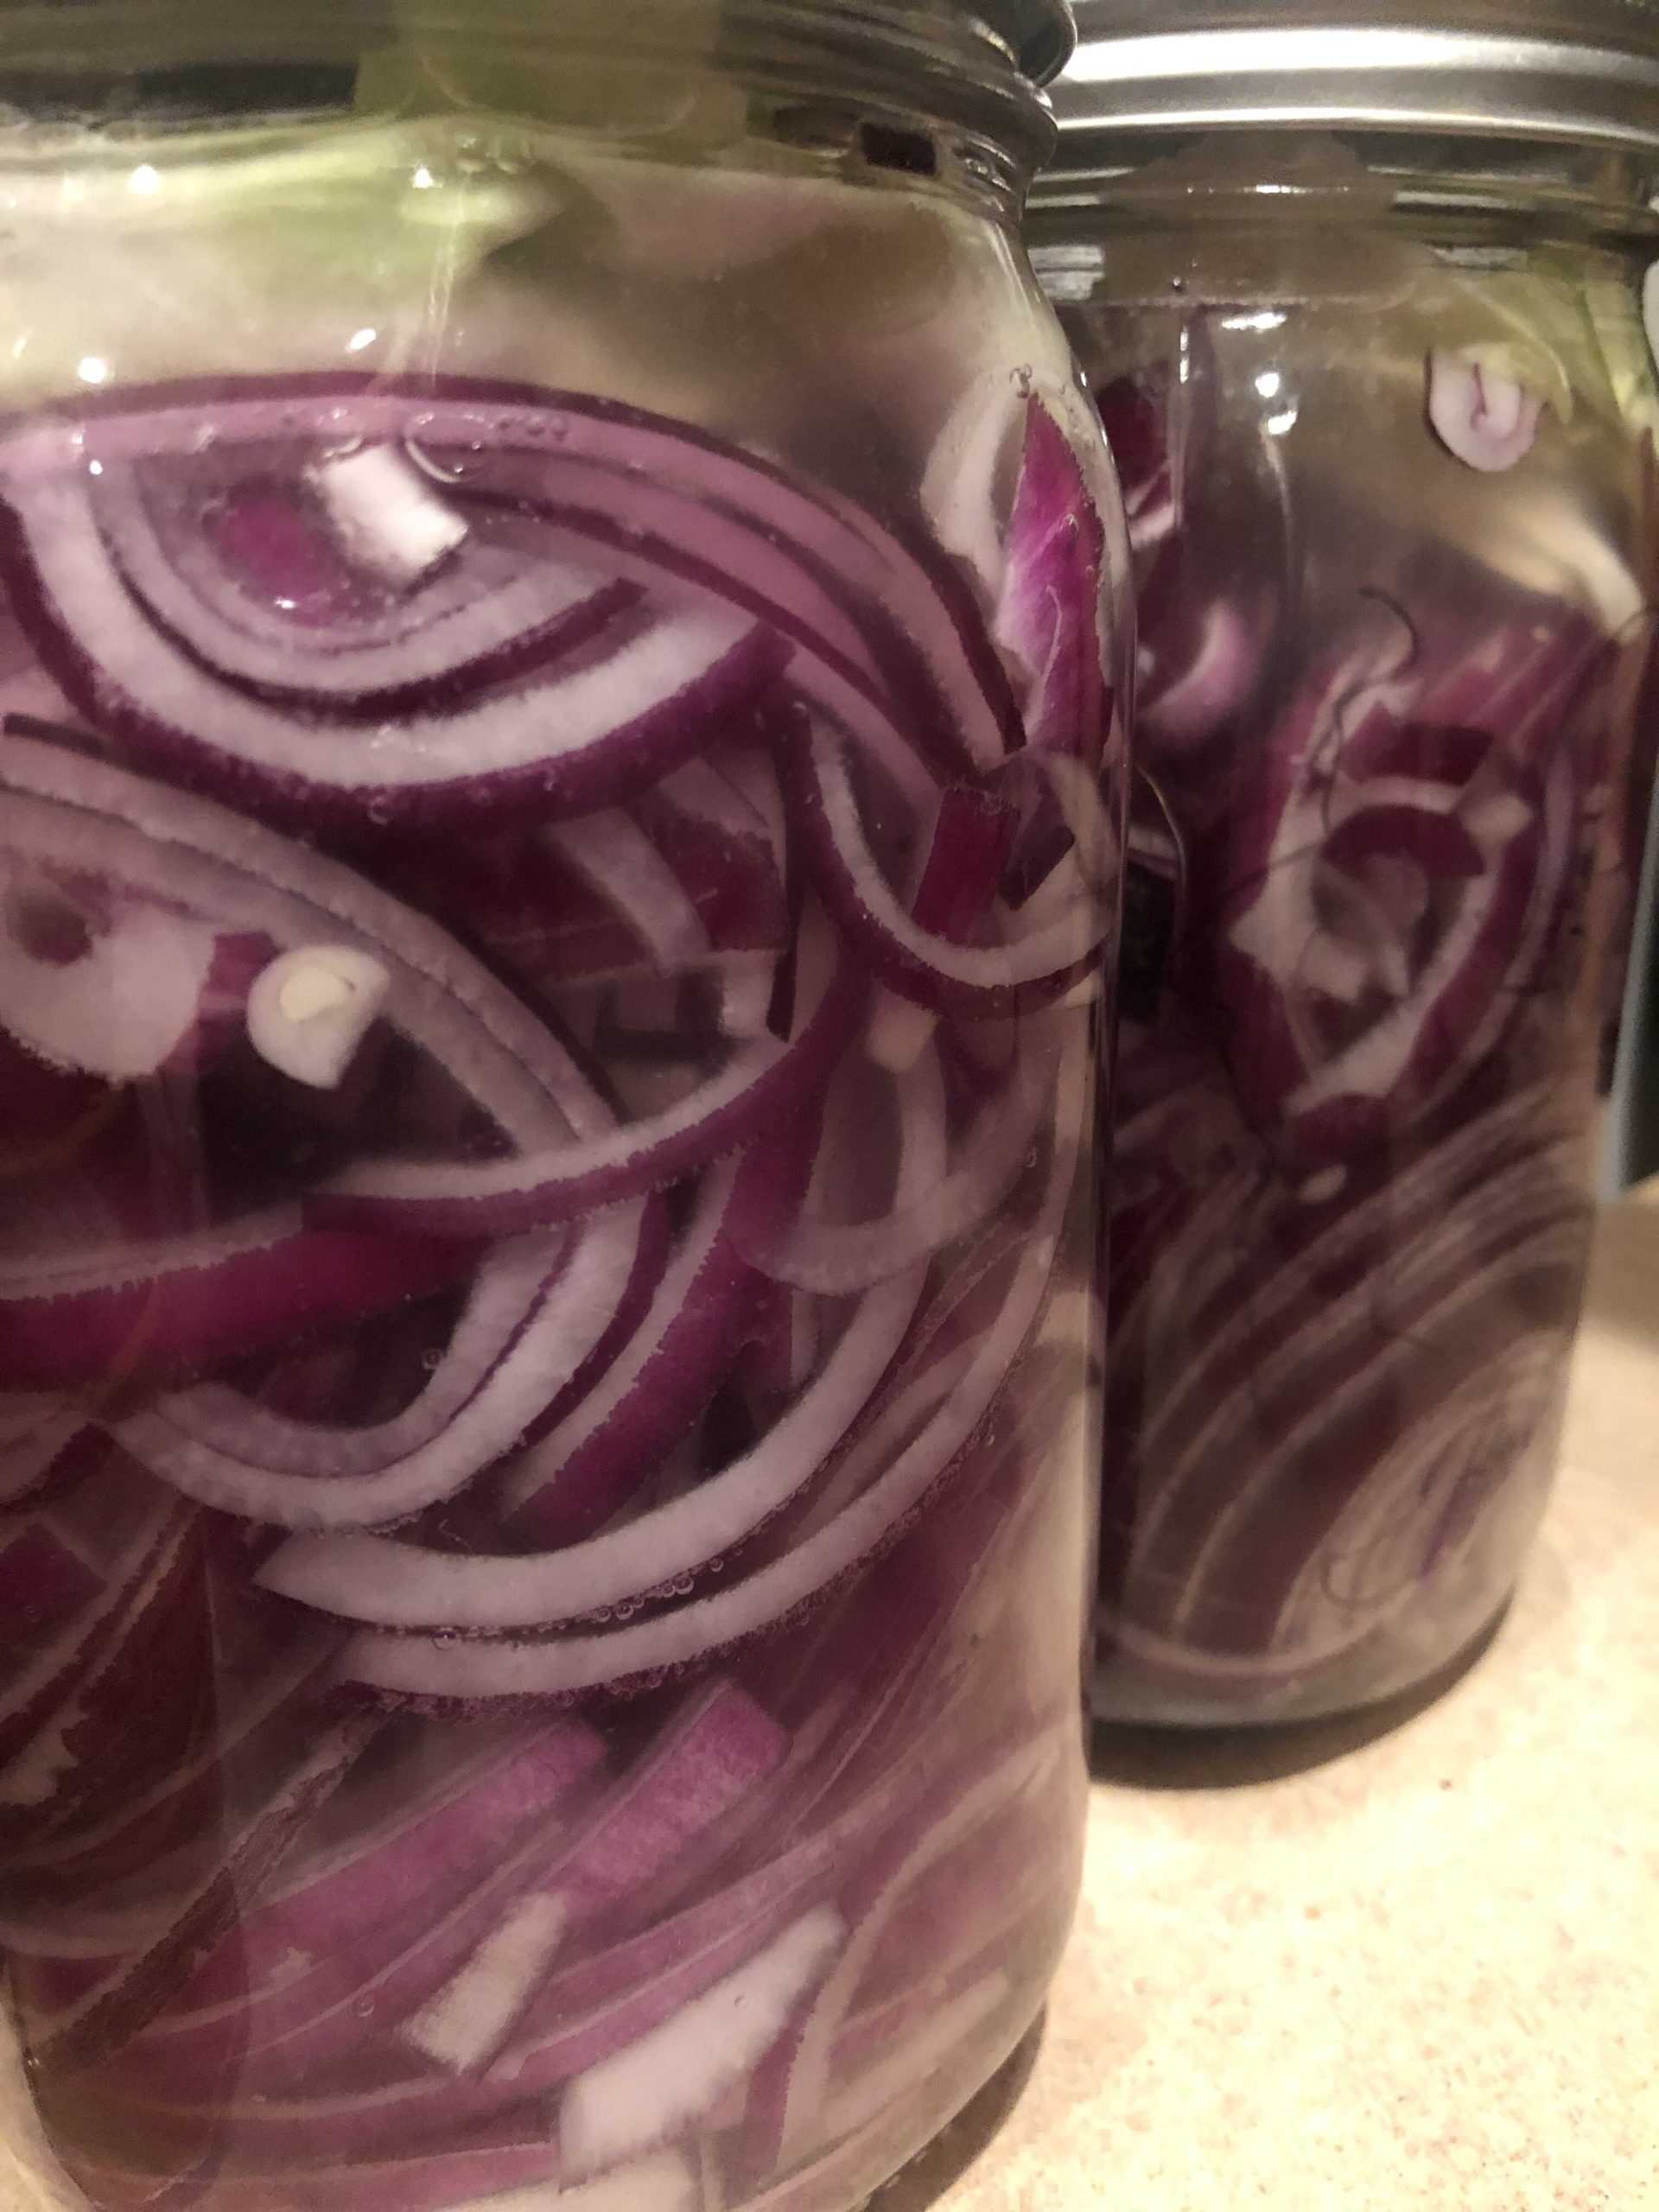
- Pickling
Pickling onions is a quick way to preserve and enhance their flavor. Combine sliced onions with vinegar, water, salt, and sugar in a jar, then let them sit for a few hours or overnight. Add spices like peppercorns, mustard seeds, or garlic for extra flavor. Pickled onions are crisp, tangy, and great for tacos, burgers, salads, or grilled meats.
- Dehydrating
Dehydrating onions extends their shelf life while preserving flavor. Slice onions thinly and place them in a food dehydrator or a low-temperature oven until completely dry and brittle. Store them in an airtight container in a cool, dry place. Use dehydrated onions as-is in soups and stews or rehydrate them when needed.
- Freezing
Freezing onions is simple and convenient. Chop or slice them, freeze on a baking sheet to prevent clumping, then transfer to freezer bags or containers. Frozen onions are perfect for stir-fries, omelets, and sauces, saving you prep time.
- Short-Term Storage
For short-term storage, keep onions in a cool, dry, ventilated place like a pantry or countertop, away from sunlight. Use a breathable container like a mesh bag to avoid moisture buildup. Proper storage keeps onions fresh for weeks and ready for daily cooking.
Bring Flavor from Garden to Kitchen
Growing onions in the Pacific Northwest can be rewarding and simpler than you might think. By selecting the right variety, providing consistent care, and properly curing your harvest, you can enjoy homegrown onions long after the growing season ends.
Take your kitchen one step closer to self-sufficiency and discover how satisfying it is to cook with food you’ve nurtured from seed (or start!).
Ready to grow your dream garden? Like our Facebook page to follow along and see everything we’re cultivating! Stay updated with step-by-step guidance, expert tips, and timely insights for all kinds of crops. Let’s grow together!
